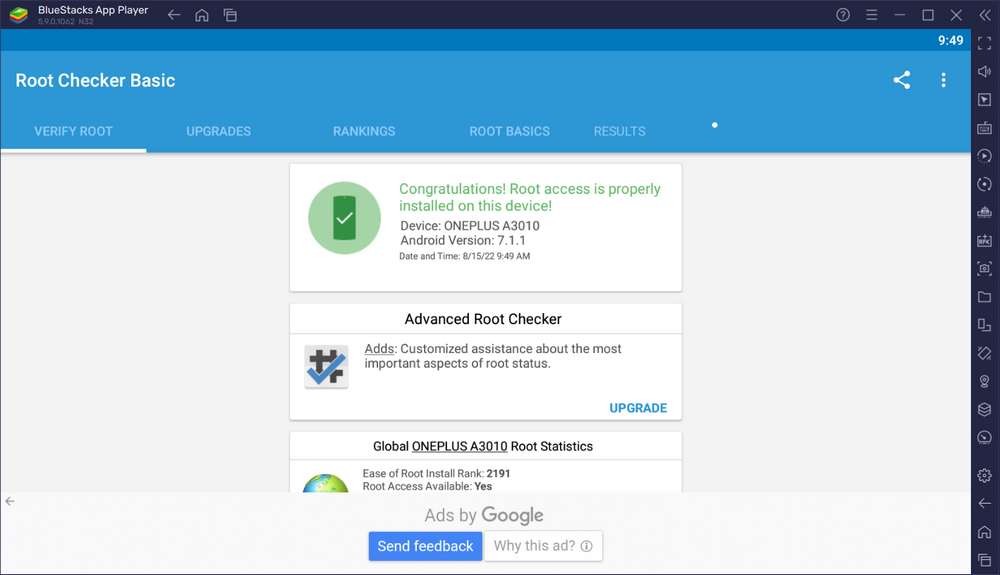
To root BlueStacks it is quite easy, without the need to use third-party applications Even if we can root BlueStacks. BlueStacks itself is an Android emulator app that can be used to install any kind of games and apps available on the Android Play Store.
BlueStacks was developed by an American company and is fairly safe to use for both Windows and MacOS operating systems. To root BlueStacks especially on Windows 11, you can follow the following guide. We also provide guides in the form of videos to make them easier to understand.
How to root BlueStacks on Windows 11 without third-party apps
1) First you have to go to the C:\ProgramData directory where the BlueStacks config file is located. However, this directory is hidden by default by Windows 11. You need to do a little setting by clicking on the three dots menu […] which is under the Menu Bar File Explorer and then select Options > View, check on the section “Show hidden files, folders, and drives“.
2) After that you go to the BlueStacks installation directory precisely at the following path.
C:\ProgramData\BlueStacks_nxt\bluestacks.conf
3) Inside the directory there is a file called bluestacks.conf, edit this file with notepad. The trick is right-click, then select Open with, then select Choose another app, then select Notepad, click “Ok“.
After that you find the following script and change the number from zero “0” to the number one “1“.
From
bst.feature.rooting="0"
bst.instance.Nougat32.enable_root_access="0"
Become
bst.feature.rooting="1"
bst.instance.Nougat32.enable_root_access="1"
That’s the tutorial and complete guide how to root the BlueStacks app on Windows 11. You can root it without using even third-party apps. To make it easier we also provide the guide in the form of a video that we embed below.

