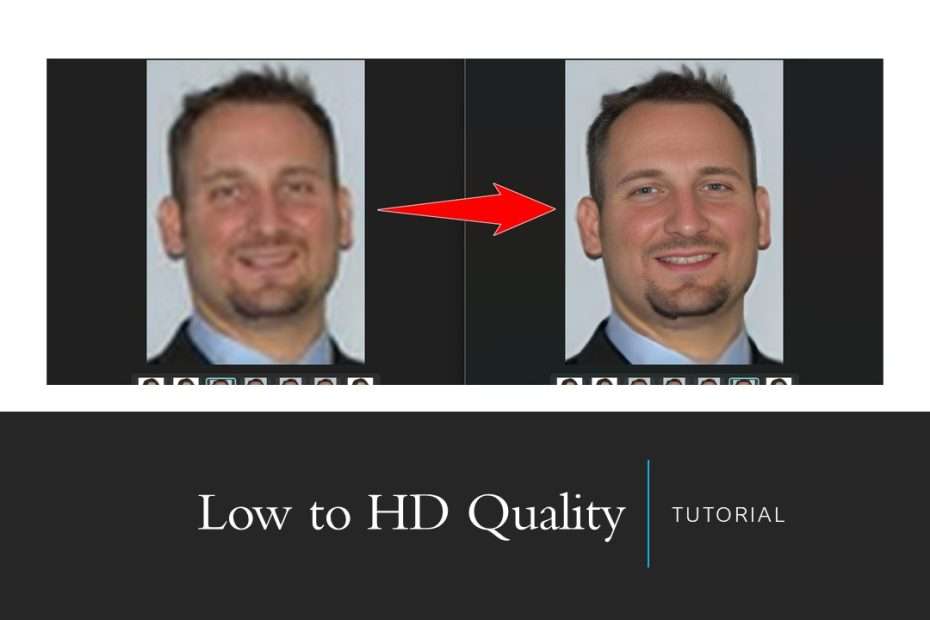
In today’s digital age, images play a crucial role in communication, marketing, and personal expression. Whether you’re a professional photographer, a social media influencer, or just someone who loves capturing memories, the quality of your photos significantly impacts how they are perceived and appreciated. Transforming low-quality images into high-quality or high-definition (HD) versions for personal photos, helps preserve cherished memories for future generations. Old photos that may have degraded over time now can be restored and enhanced to bring back their original vibrancy and detail. How to do it? Check out the following tutorial.
Step Convert Photo into HD Quality
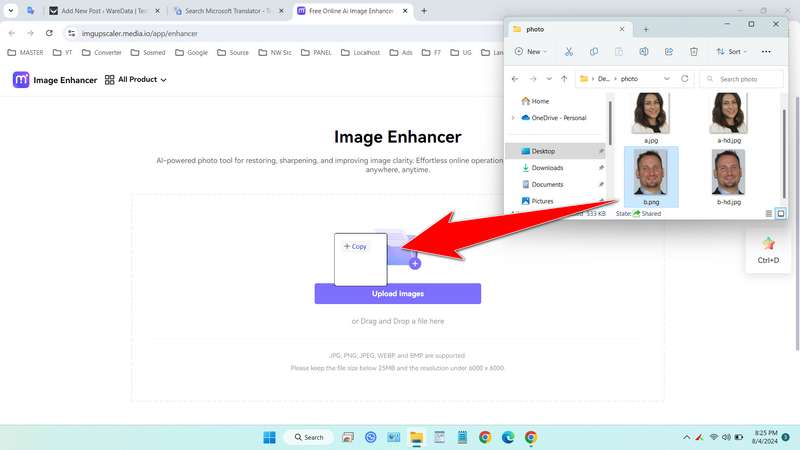
1. Open the Enhancer app, which is excellent at converting photos to HD quality here.
2. Drag and drop low-quality photos or even blurred photos of yours, wait until 100% uploaded.
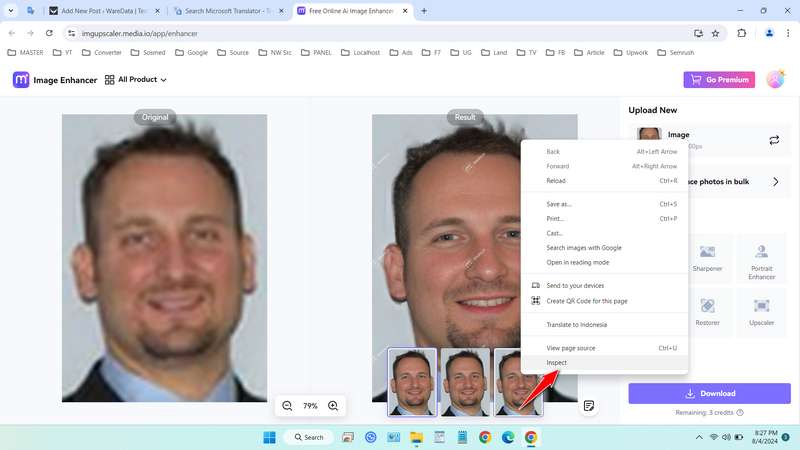
3. After the photo is finished in the process, please right-click on one of the photos below that does not have a watermark. Then select “Inspect” if you’re using the Google Chrome browser, or similar if you’re using another browser.
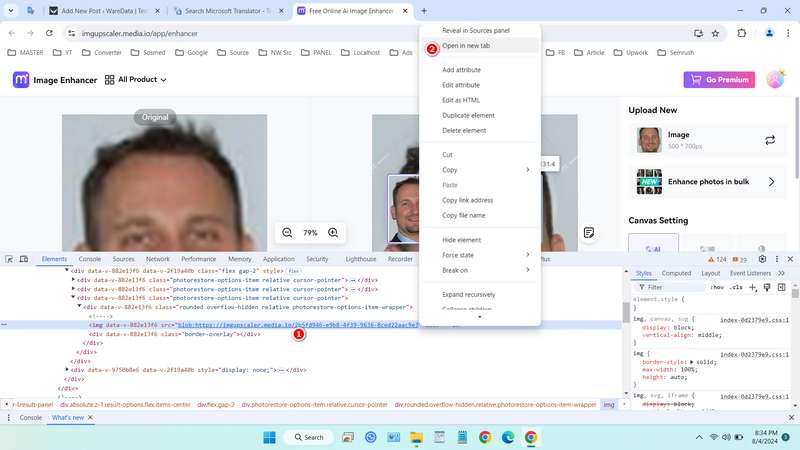
4. After you inspect, the source code will appear, point to the URL of the photo and right-click on the URL and right click then select Open in new tab, then the photo will be successfully converted without a watermark.
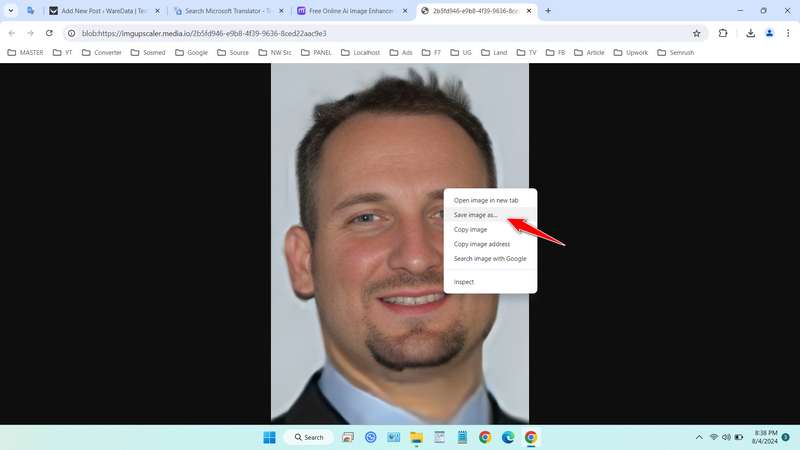
5. You can then save your photo by right-clicking and then selecting “Save image as“. Your photo has a .jfif extension which is still an extension of the JPG group, if you want to keep using the .jpg extension, you can use the “jfif to jpg” tool which you can find a lot on Google search.
If you are still confused by the article on how to convert photos to HD quality, you can watch the guide in the form of the following video.
Video How to Convert Photo to HD
Maybe you liked other interesting articles?

