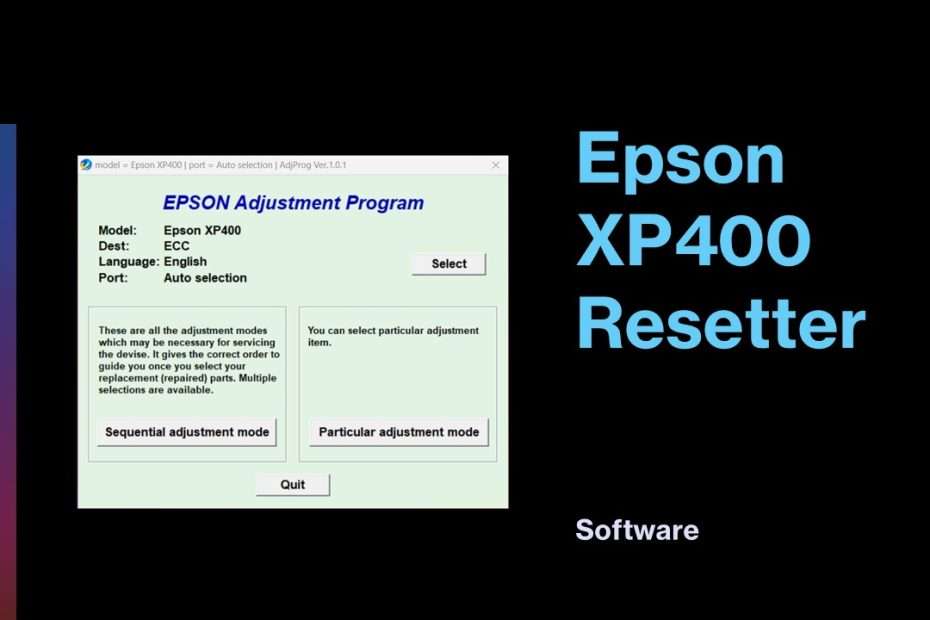
Epson XP400 resetter is software that is usually used to reset Epson XP400 printers so that they can be used again. Usually Epson printers will experience an error with the message “Service required” after some time of use, including the Epson XP400 itself.
To overcome the problem of the error “Service required” this is needed resetter or adjustment program. If not, then you will need to bring your Epson XP400 printer to the service point before it can be used again.
With the resetter for the Epson XP400 you will be able to fix errors on the printer independently at home. For a guide on how to use the Epson XP400 resetter you can follow the following guide.
How to Use Epson XP400 Resetter
1. Turn off your antivirus for a while until the reset process is successful, includes Windows Defender if you are using the Windows Operating System.
2. After you turn off the antivirus then you can download the resetter for the Epson XP400 printer via the following link.
3. After the resetter file is downloaded, you can extract the file, by right-clicking select Extract All.
4. Run the file “AdjProg.exe” by double-clicking on the file.
5. Click the “Accept” button.
6. Then click the “Particular adjustment mode” button.
7. Select “Waste ink pad counter” in the Maintenance option, then click “Ok“.
8. Check the “Main Pad Counter” option, then click the “Check” button, continue by clicking the “Initialization” button.
9. After successfully reset, click the “Finish” button. Then turn off the printer and turn it back on afterwards.
10. If the error occurs, repeat the steps again and try using a different USB port on your computer.
That’s a guide on how to use Epson XP400 Resetter. You can download Epson XP400 Resetter via the following link.
Epson XP400 Resetter Download
File Size: 902KB
Resetter: Epson XP400 Printer
OS: Windows 7/8/10/11 or above
Maybe you liked other interesting articles?

