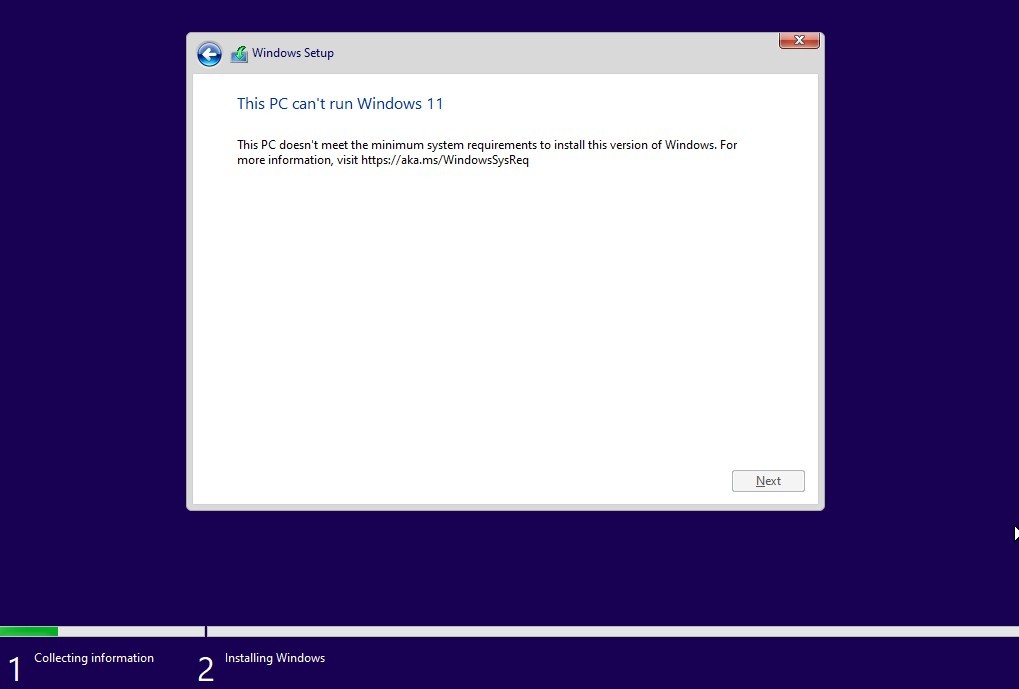
To install Windows 11 requires extra capable hardware. Therefore, we often fail in installing. Windows 11 has its own checkup before we can do the installation until it is completed.
Here are tips you can do to bypass the checkup that caused the installation of Windows 11 to read “This PC can’t run Windows 11“.
How to Bypass Windows 11 Checkup During Installation
Step 1: After you receive the message “This PC can’t run Windows 11” please close and start the installation from scratch again.
Step 2: When the installation popup appears/select a language then press the Shift + F10 key together to open the command line window on the first page of windows 11 installation.
Step 3: Type regedit and press the Enter key to open registry editor.
Step 4: Then, go to the path – Computer\HKEY_LOCAL_MACHINE\SYSTEM\Setup.
Step 5: Right-click the Setup button, then select New and click Key. Name it LabConfig and a folder will be created.
Step 6: Click LabConfig and right-click the free space to select the DWORD (32-bit) value option. Name it BypassTPMCheck. Double-click to convert the value data to 1, and press OK.
Step 7: Right-click the free space to select the DWORD Value (32-bit) option. Name it BypassCPUCheck. Double-click to convert the value data to 1, and press OK.
Step 8: Right-click the free space to select the DWORD Value (32-bit) option. Name it BypassRAMCheck. Double-click to convert the value data to 1, and press OK.
Step 9: Right-click the free space to select the DWORD Value (32-bit) option. Name it BypassSecureBootCheck. Double-click to convert the value data to 1, and press OK.
It should be that after doing this, you will not encounter any more errors when installing Windows 11.

